

New BoardPusher Blasters are here! The 60mm wheel has a rounded lip shape that calls back to vintage style, with a wide running[…]
How To Create Your Own Split Deck Series
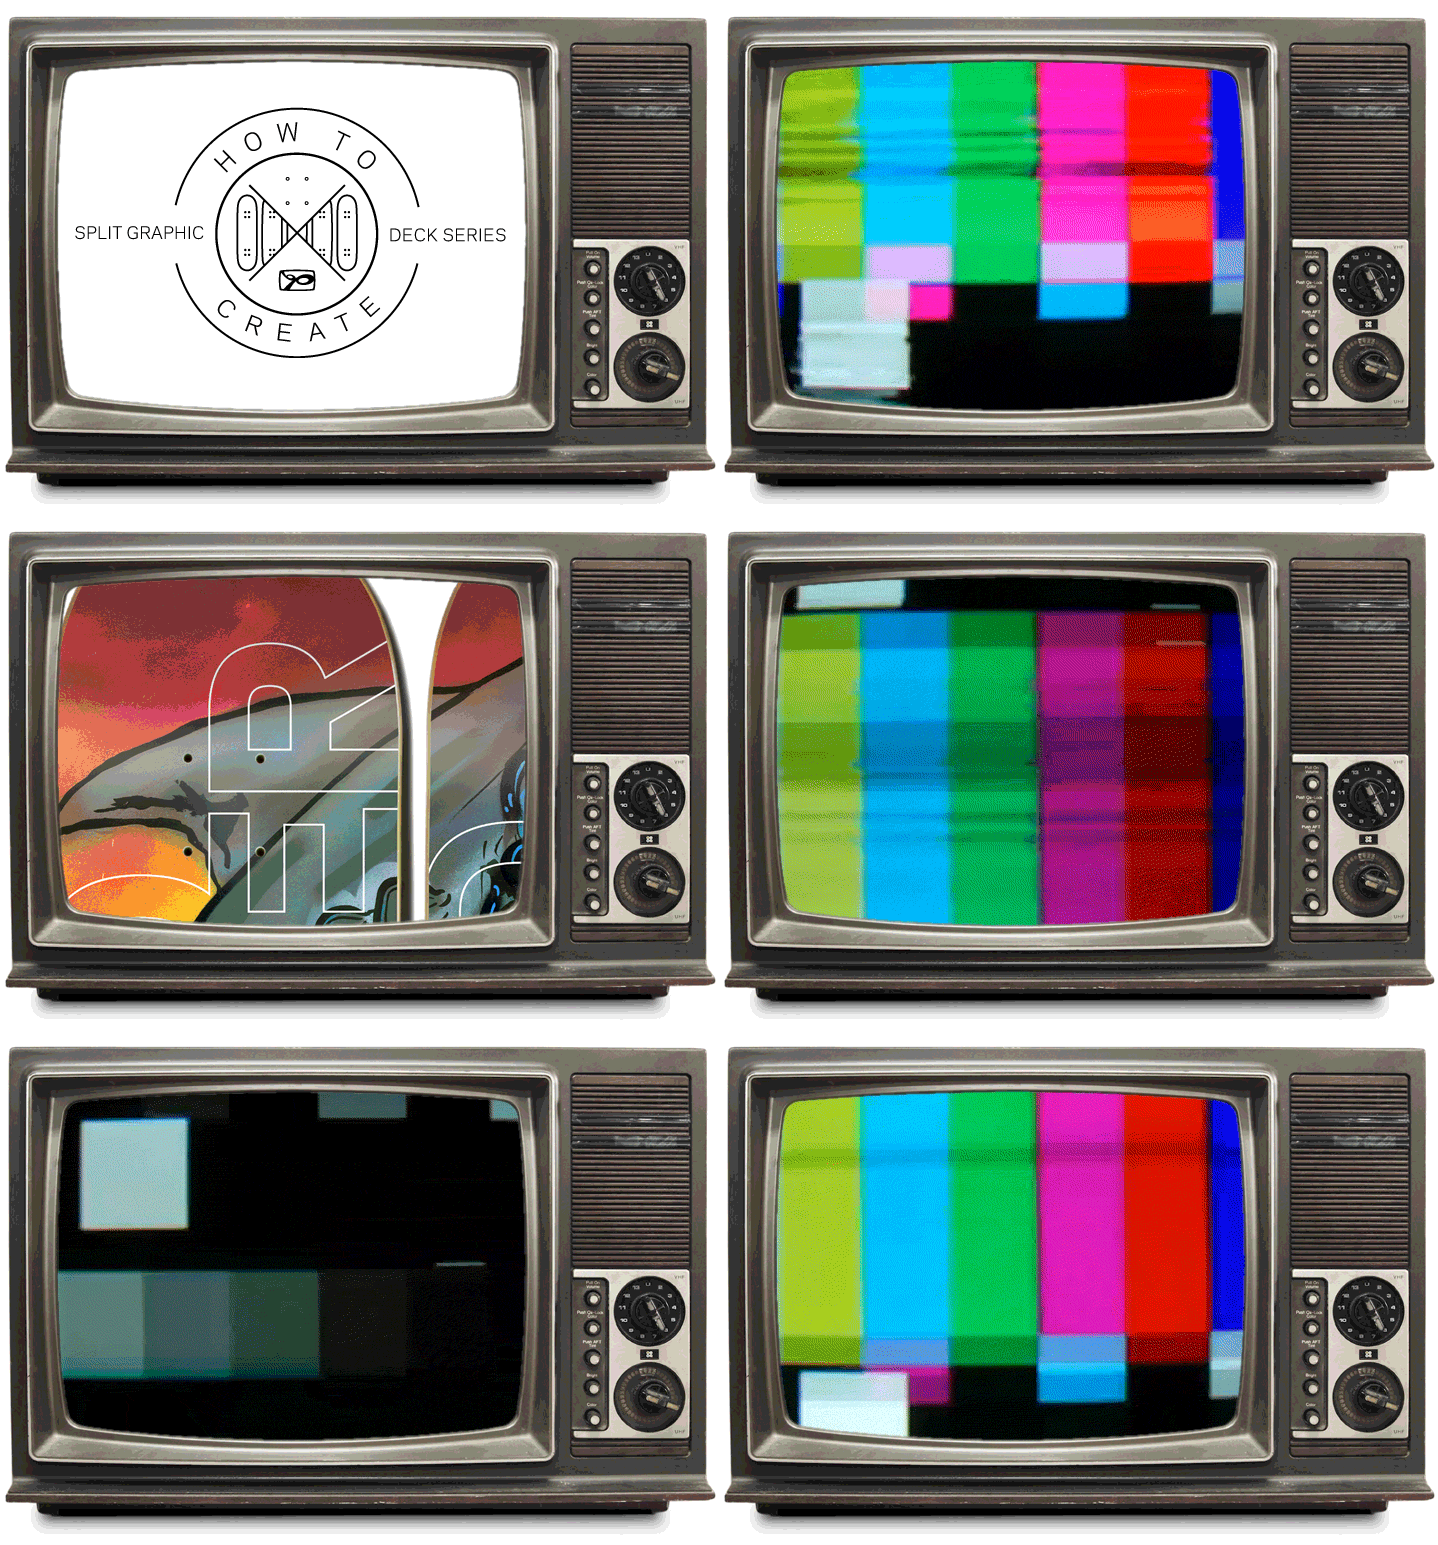
We like fancy restaurants, especially establishments with fish taco’s and tasteful decor. So, it was a no-brainer when Wahoo’s Fish Tacos recently approached BoardPusher.com about filling some space on their walls. Our first thought was that it needed to be a skateboard deck series that not only would fit in with the Wahoo’s vibe, but also be something that the BoardPusher team would be stoked to skate. The “Fish Fight” deck series was born. Always trying to pass on our knowledge of every possible way to put your own graphics onto skateboards, we documented our Art Director’s DIY process, then put together this How To video, as well as a detailed outline below to help you create your own split deck series. The “Fish Fight” series is also available here.
1. Decide weather you are going to split your series horizontally or vertically.
MAKING A HAND CREATED GRAPHIC START HERE
2. Knowing each board is roughly 9 x 33*, decide how many boards to use and create a canvas accordingly.
3. Create your full graphic.
4. Scan art in as a 300 DPI .jpg (local copy stores normally have large format scanners).
MAKING A COMPUTER GRAPHIC CONTINUE HERE
5. Download one of our deck templates here.
6. Open the template in a graphic editing program.
7. Duplicate the template layer for each deck desired. Ex. For 7 decks, 7 duplicated template layers.
8. Expand the canvas size to match the number of decks. Ex. For 7 vertical decks expand canvas horizontally by 700%.
9. Move the copied template layers over so that the 9 x 33 edges touch. Repeat until the appropriate amount of decks appear in a row and fill the canvas.
10. Paste in or create your graphic on a new layer
11. Select out your board graphic by selecting the first 9 x 33 template layer.
12. Leave the selection area the same, but switch to your art layer before you copy the selection.
13. Create a new file 9 x 33 .jpg and paste in your first board. Art should be saved as board1.jpg.
14. Repeat 11 through 12 for the appropriate amount of decks.
15.Upload each deck separately to the Boardpusher.com designer.
16. Place your order and be ready to skate or hang your series.
*(May vary depending on which shape you choose. Always leave an inch more on each side to allow for full bleed printing. We used the 8 1/4 template for this series)
Related Articles
-

-

You can now add Slappy Trucks to your BoardPusher Custom Skateboard complete. Focused on turning ability, these Slappy Trucks also have an[…]
-
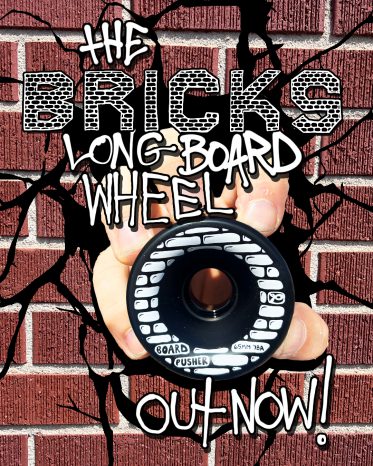
We have two NEW 65mm wheels available for your BoardPusher custom longboard or cruiser. The Bricks wheels come in black or white and 78a[…]
-
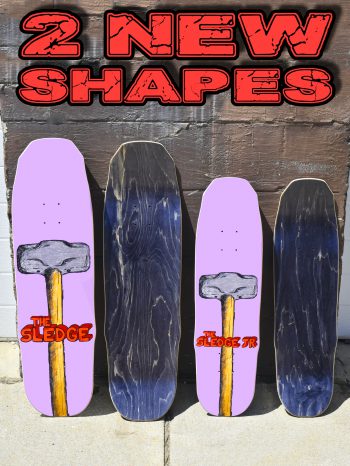
We have TWO brand NEW deck shapes for you to customize and add to your quiver. The Sledge shape is old school-inspired[…]